
Universal Translater menu option in the tools menu
Universal Translater menu option in the tools menu

Translate data button in the FME Quick Translator toolbar

Set Translation Parameters window

GME Quick Translator window

MapInfo .TAB file loaded into MapInfo professional

Layer control window with syle override turned off
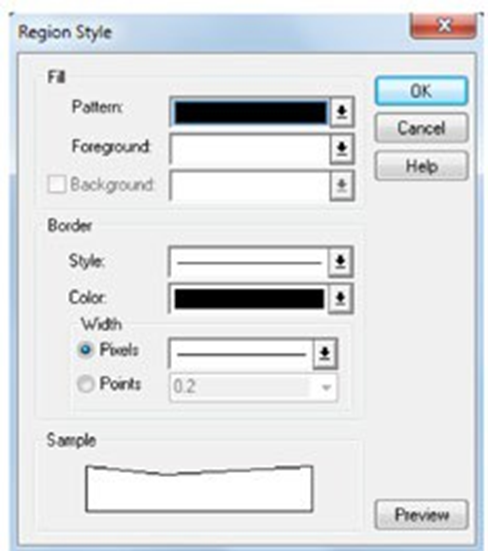
Region style window
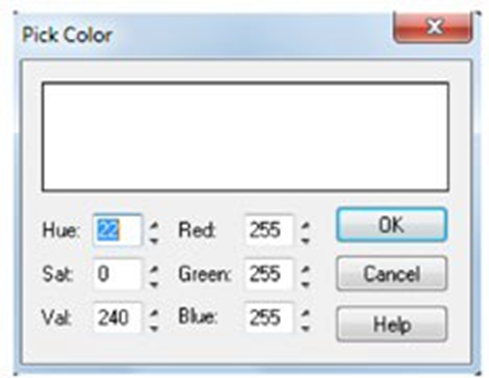
Colour picker options

Roads layer data styled in the main data window

Query menu options showing SQL Select highlighted
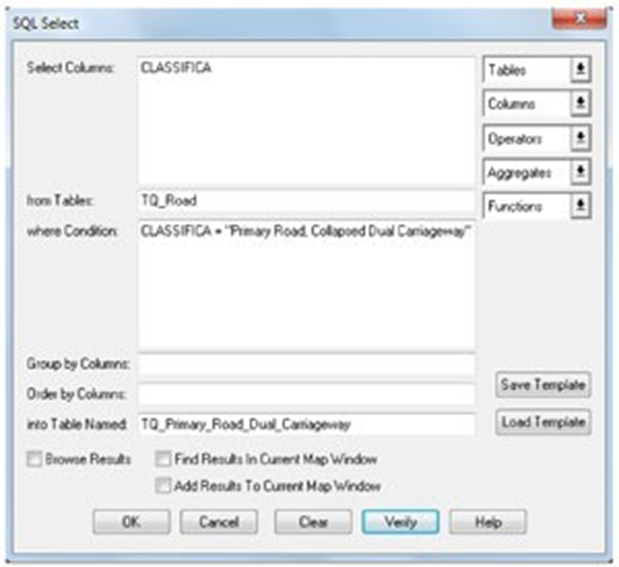
SQL Select dialog window

Save copy As dialog box
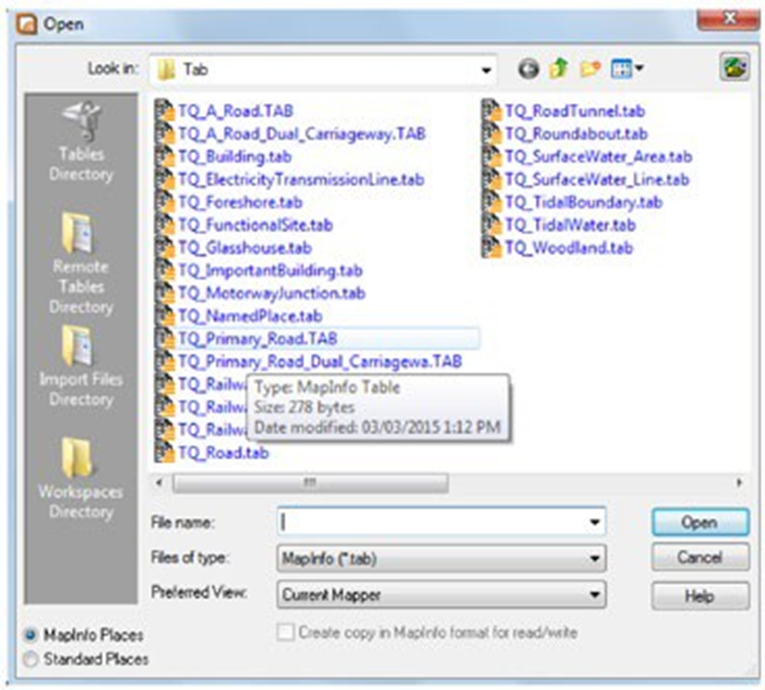
Open file window

Table featured in the layer control window
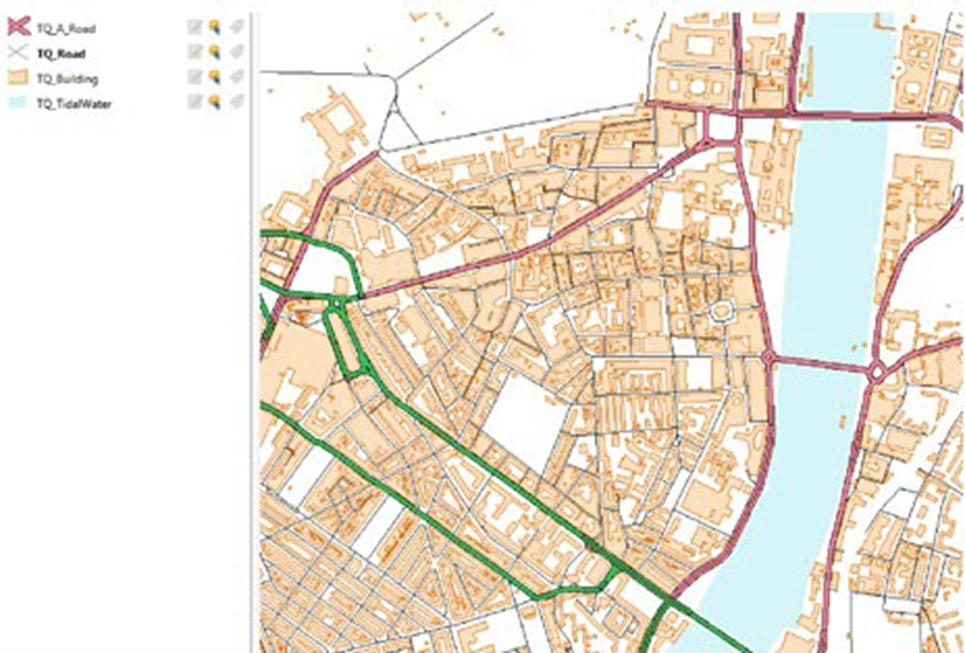
Data styled in the main map window

Merged data shown in the main data window